Hello, hello my creative friends!
In my last blog I mentioned sketchbooks and how confusing it might be to chose one especially if you are just starting out. So in this blog I’ll go over my experience with sketchbooks and talk about a few features in the hope that it will make things clearer for you 😊
I’ve mentioned that keeping a sketchbook practice is great to improve your drawing skill, but in a sketchbook we can also play with colors; plan paintings or (as in my case) new patterns ideas; capture a particular moment or even use it as a visual journal.
Do you use your sketchbook for something else entirely? Let me know in the comments below if you do.
So here is the main question: with so many choices out there, which sketchbook is the right one for your needs? First of all, you need to consider how you’re going to use it and with what materials. It’s great to try to use what you already have, but if years ago you purchased a sketchbook with thin pages and now you want to use watercolors, that paper is not going to work.
There are a few features to consider when choosing a sketchbook:
Number of pages: a thick sketchbook might look a bit daunting but, in my experience, a sketchbook with more pages is usually more cost effective.
Binding: softcover, hardcover, spiral bound. While spiral bound will lay flat, I find that the metal rings in the middle of the book are very uncomfortable and make it difficult for me to draw on the left page of the book. Some people have solved this problem by turning the book upside-down, but this means that when you leaf through the sketchbook you’ll have every other drawing upside-down, which I really don’t like.
Hardbound books don’t have this problem, however sometimes they don’t lay flat. I have found the Frisk Layflat Sketch Pad 300gsm (it comes in A4 and A5) which does really lay flat even though the cover is very thick and can be considered hardbound. The paper is also quite thick although it won’t take too much fiddling; for example, if you’re using watercolour the surface of the paper will start to lift if you put too many washes or try to lift some colour. However, for your everyday sketching I think it’s a good compromise, it has a little bit of tooth so you can use also coloured pencils or graphite with it.
The cover in a softcover book might become very worn down and wrinkled in a matter of days, but sometimes these books are easier to carry as they are lighter than the hardcover books and more flexible.
Size: yes size does matter! A large A4 sketchbook gives you more room to play but if you want something portable, then A5 might be a better choice. There are also square books like the Moleskine Art Square Sketch Pad which come in various sizes; I have the 20 x 20cm and it’s quite a good size for me. Again, the Frisk Layflat Sketch Pad might come to the rescue because, if you buy the A5 one, since it lays perfectly flat, you can effectively use it as an A4 page (if you have a look at my previous blog below, the exercise that shows different pencils was done on the A5 Frisk Layflat pad).
I also keep an A3 sketchbook at home for larger projects. I use my current one for mood boards for my pattern design and to organize the various collection patterns. I find that having everything on one page helps me getting a better understanding of the cohesiveness of the collection.
Paper type: this is a difficult one! I mentioned already that if you want to use wet media you’ll need heavier paper, and if you want to use dry media only, you can get away with lighter paper, but I’m afraid is not that simple! For example, if you want to use your sketchbook to explore and prepare for a botanical painting, ideally your sketchbook paper should be the same as the paper you’ll use for your final painting. Yes I know what you’re thinking, it’s something along the lines of: WHAAT? That is a very expensive sketchbook!
If you just want to loosely take color notes and have a visual diary of, say, your holiday, or sketch nature subjects etc, you don’t really need to have such expensive paper for your sketches. But when I did the Certificate in Botanical illustration course with the RBGE, I soon realized that when I used the sketchbook to match the colors for my cyclamen painting, once I used those same colors on the Arches paper (which is my favorite paper for watercolor painting) the colors did not match anymore. So I ended up making my own sketchbook. I found a class on Skillshare on Coptic binding and hey presto (well, more or less) I had the sketchbook the size I wanted with the paper I needed (see picture below).
Whichever paper you chose to go for, make sure it’s acid free, as this will preserve your work for longer.

Some of my sketchbooks. Here you can see the two I made myself with the coptic stitch
One last consideration about the “new sketchbook syndrome”. It affects most of us and it manifests itself in the inability to make even a single pencil mark on the beautiful, immaculate, new page of the beautiful, immaculate, new sketchbook. You know what I’m talking about right?
Well I have found a way to avoid that by starting to sketch on the third page of the book, that way even if it turns out to be a horrible mess it won’t be the first thing I see when I open the book. On the very first page sometimes I take the time to do a planned out drawing, maybe traced from a rougher sketch somewhere else, so that is what I see when I open the book. It might seem silly but it works for me!
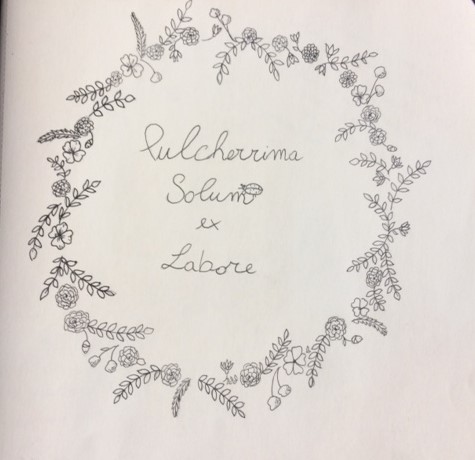
The first page of my Moleskine sketchbook
I hope this brief explanation has helped you in deciding what sketchbook to try next, and not confused you even more!
Till next time
Create and be happy! xox