Hello my creative friend!
I’m sure you have heard about mood boards but have you ever made one? Or are you one of those impatient people that can’t wait to get started and doesn’t want to “waste” time on this sort of things? Well, I was definitely one of those people, until I made my first mood board and then I realized the importance of it!
Image by Coolvector (freepik.com)
A mood board is generally a collection of images, text, color swatches, even different materials (if you do a physical one) to suggest a particular concept or style for a project.
Whenever I start working on a pattern collection the first thing I do is gather inspiration and put it all together in a mood board; this will then be an invaluable help while working on my collection as, referring back to it, will help me to create a cohesive collection.
If you are working for a client having a mood board becomes even more important. The mood board you create to show your client will ensure that you are on the same page, the client will get a sense of your design idea, and it will allow you to make the desired changes before you actually start working on your project. Can you imagine just starting directly on your designs and then the client doesn’t even like the idea?
There are no hard rules when you create your mood board, but it should clearly convey a theme, a color scheme and a general motif direction.
So how do you create a mood board?
· Collect inspirational images. These could be images from magazines (not only home décor, but also gardening, lifestyle, etc.), or you could use your own pictures. I take a lot of flowers/plants pictures to use as inspiration for my motifs
· If you prefer a digital mood board you can start a Pinterest board for your project and save images there that you can then transfer to your mood board. Just be mindful of copyright issues, normally the mood board is just for your own use but if you publish it in any way you might be infringing copyright
· Choose the orientation of your mood board. You might get a different feeling from your mood board according on the orientation you use (vertical or horizontal), or you may even work better with a square board…
· Choose your color scheme. A collection’s color might change but I find it useful to add colors to my mood board to have an idea of the color palette right from the start. You can show this either through the images you choose or through color swatches. Again this can be analogue (you can use color chips from an hardware store for example or use crayons!) or digital. One tip I can give you is this: always try to add some neutral colors to your color palette, and some contrast too, so light and dark colors so your final collection will have enough contrast overall.
· Choose some motifs ideas/themes. Include images or sketches that generally represent the motifs you want to use. For example, do you want the majority of your motifs to be floral, or geometric, or maybe you want to represent animals, or insect?
· Give some thought to the negative space. OK this is not a work of art that you’re going to show anyone (unless of course you are working for a client) but it’s always good to take into account the negative space and the visible background, which by the way I advise you to leave white so it won’t interfere with your images and color choices.
· Balance the elements on your mood board. Shape, size and color should all be balanced, don’t add all the colorful, ornate items on one side and the simple items in neutral color on the other side.
· Have a coherent theme. If you want your collection to feature geometric patterns in bold colors don’t include pictures of flowery, pastel fabrics and wallpapers.
I create my mood boards either in analogue or digital versions. If you like the good old paper, scissor and glue then I’d advise to use A3 size paper. If, on the other hand, you prefer a digital mood board, you can use Photoshop or Illustrator.
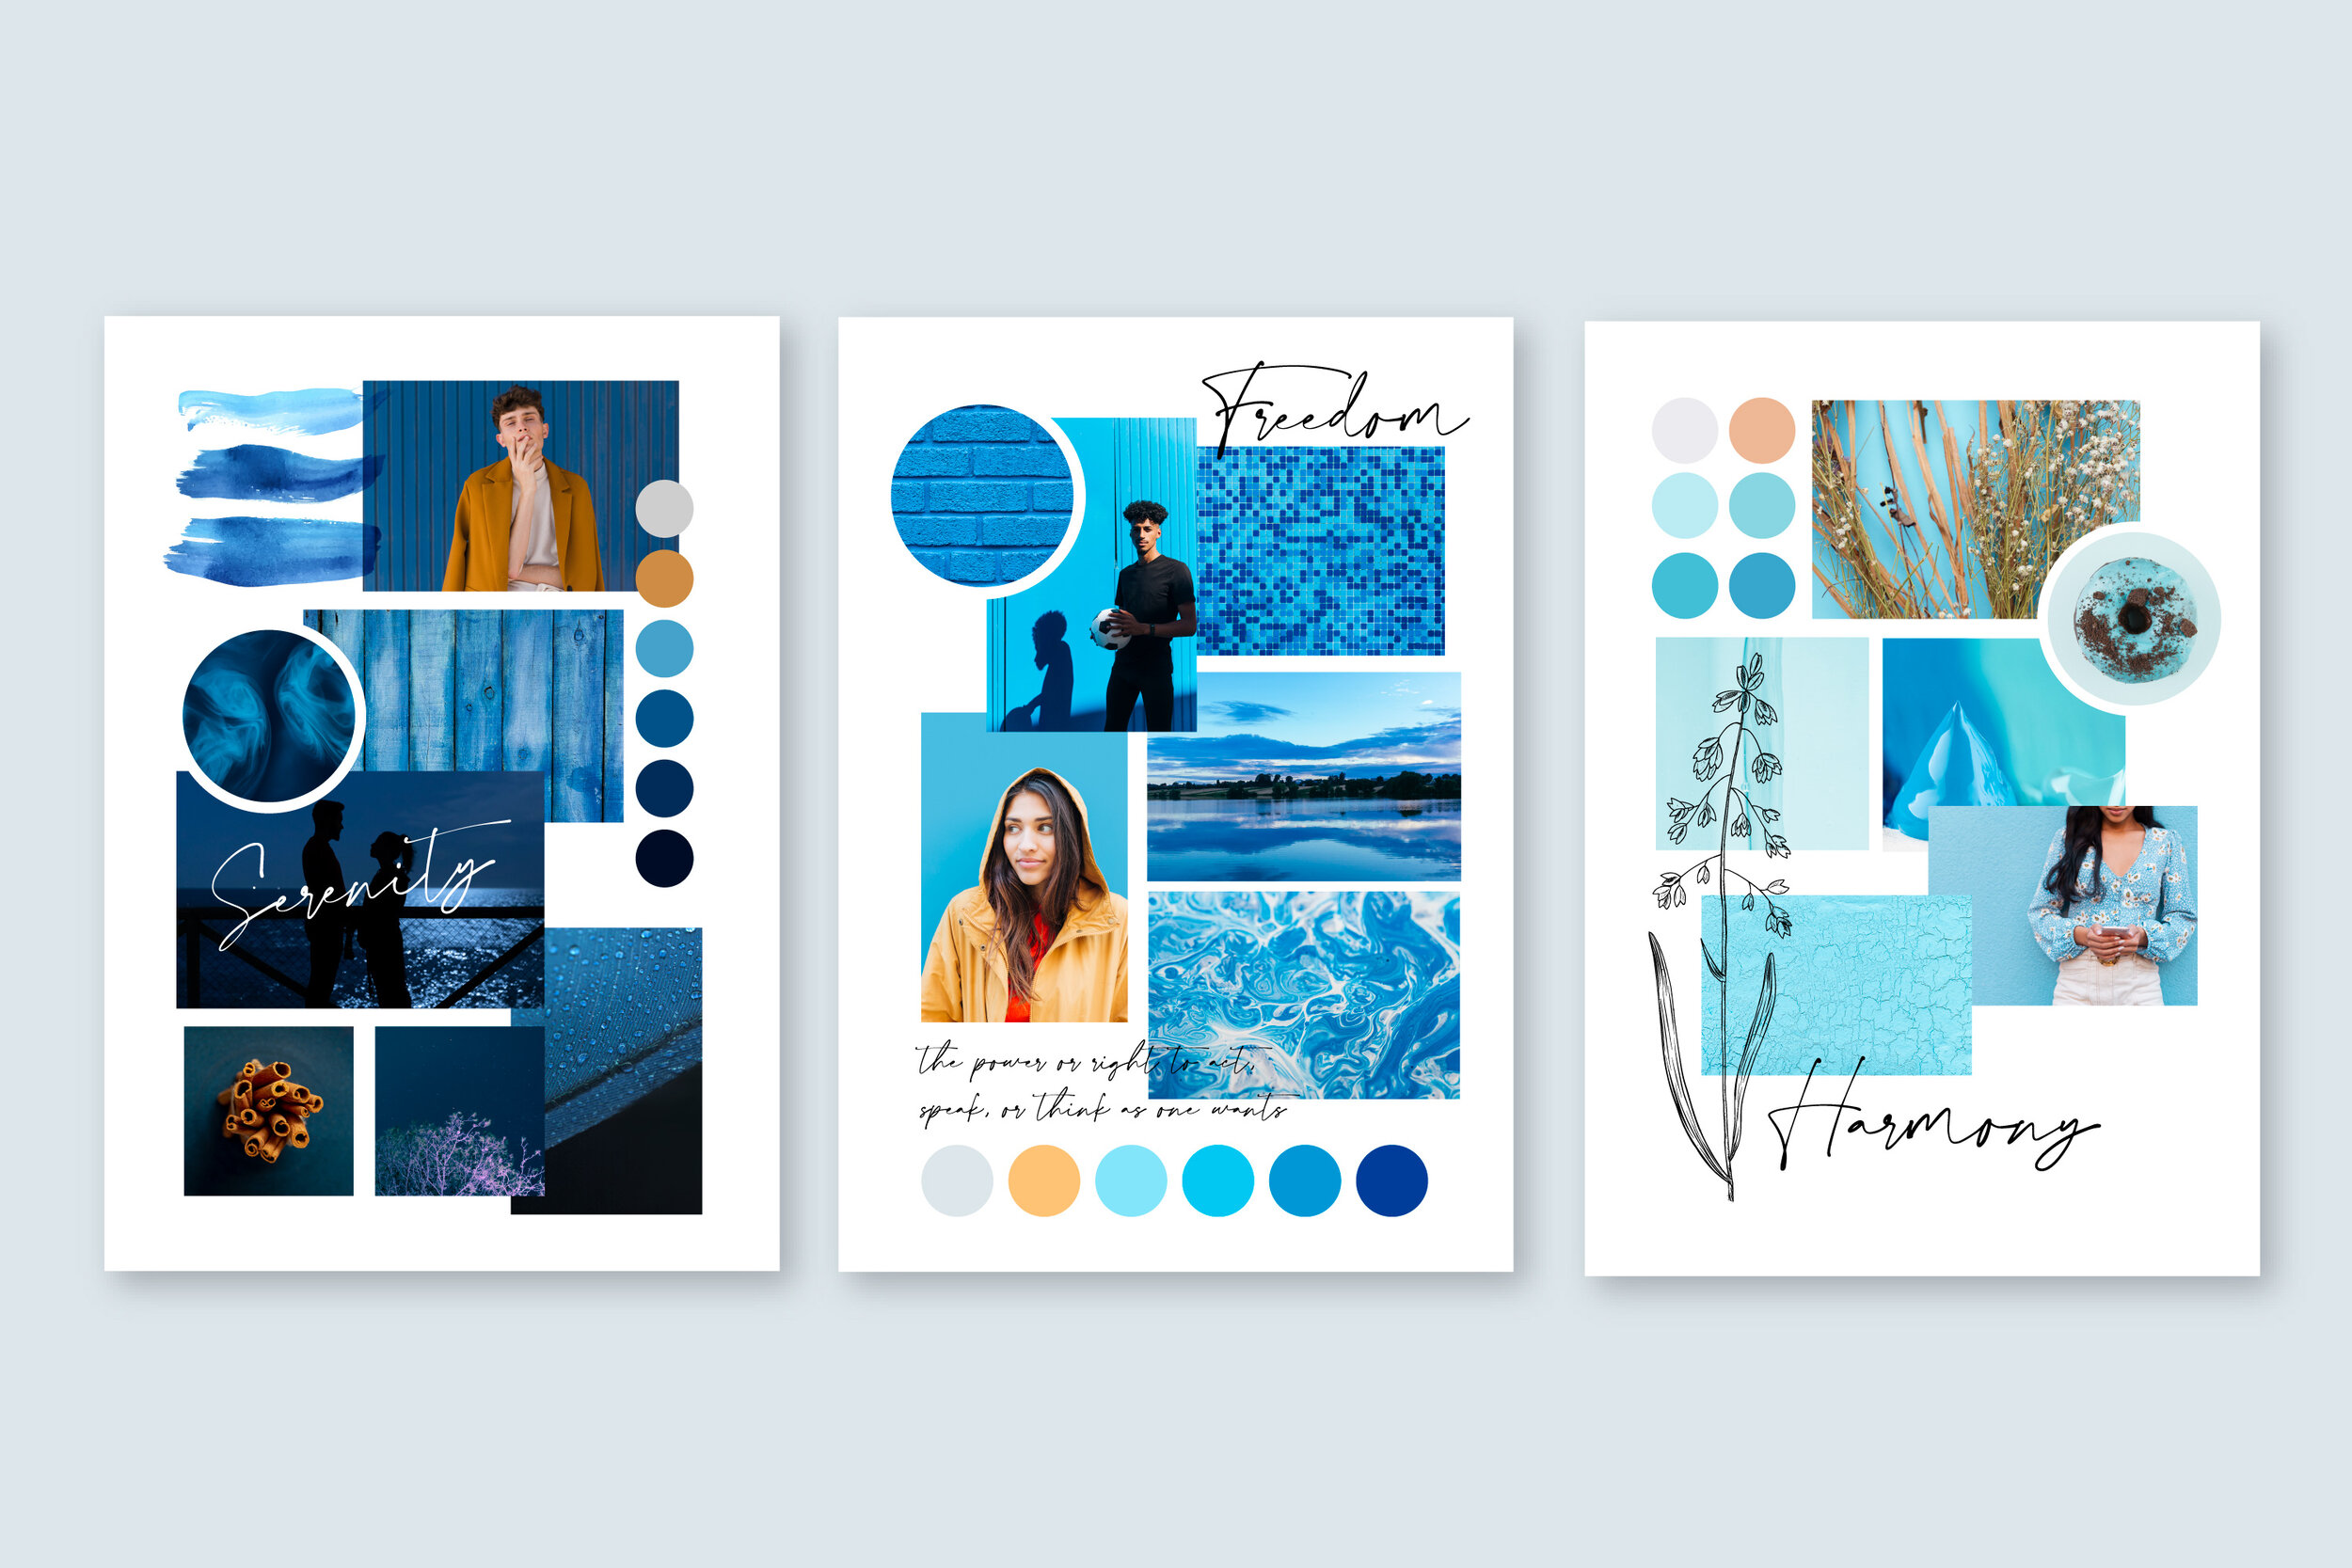
Some of the templates included in the download
Personally I prefer Illustrator as I find it much simpler to use. And if you’ve never made a mood board in Illustrator before I have a treat for you!
I have created 10 different mood board templates that you can download HERE and use for your beautiful projects! In the download I’ve also included instructions on how to use the layouts to insert your photos.
One last important thing to keep in mind while you’re creating your mood board is…. have fun! The more you enjoy the process the better the results!
Till next time
Create and be happy!


